I wanted to have a nice "Kids clock" for my daughter so she could see when she can get out of bed without screaming through the house that she is awake. During some random searches on printables.com I found the perfect (paid) project from Remindi. However, after printing and setting everything up I do have some notes for what could be improved.
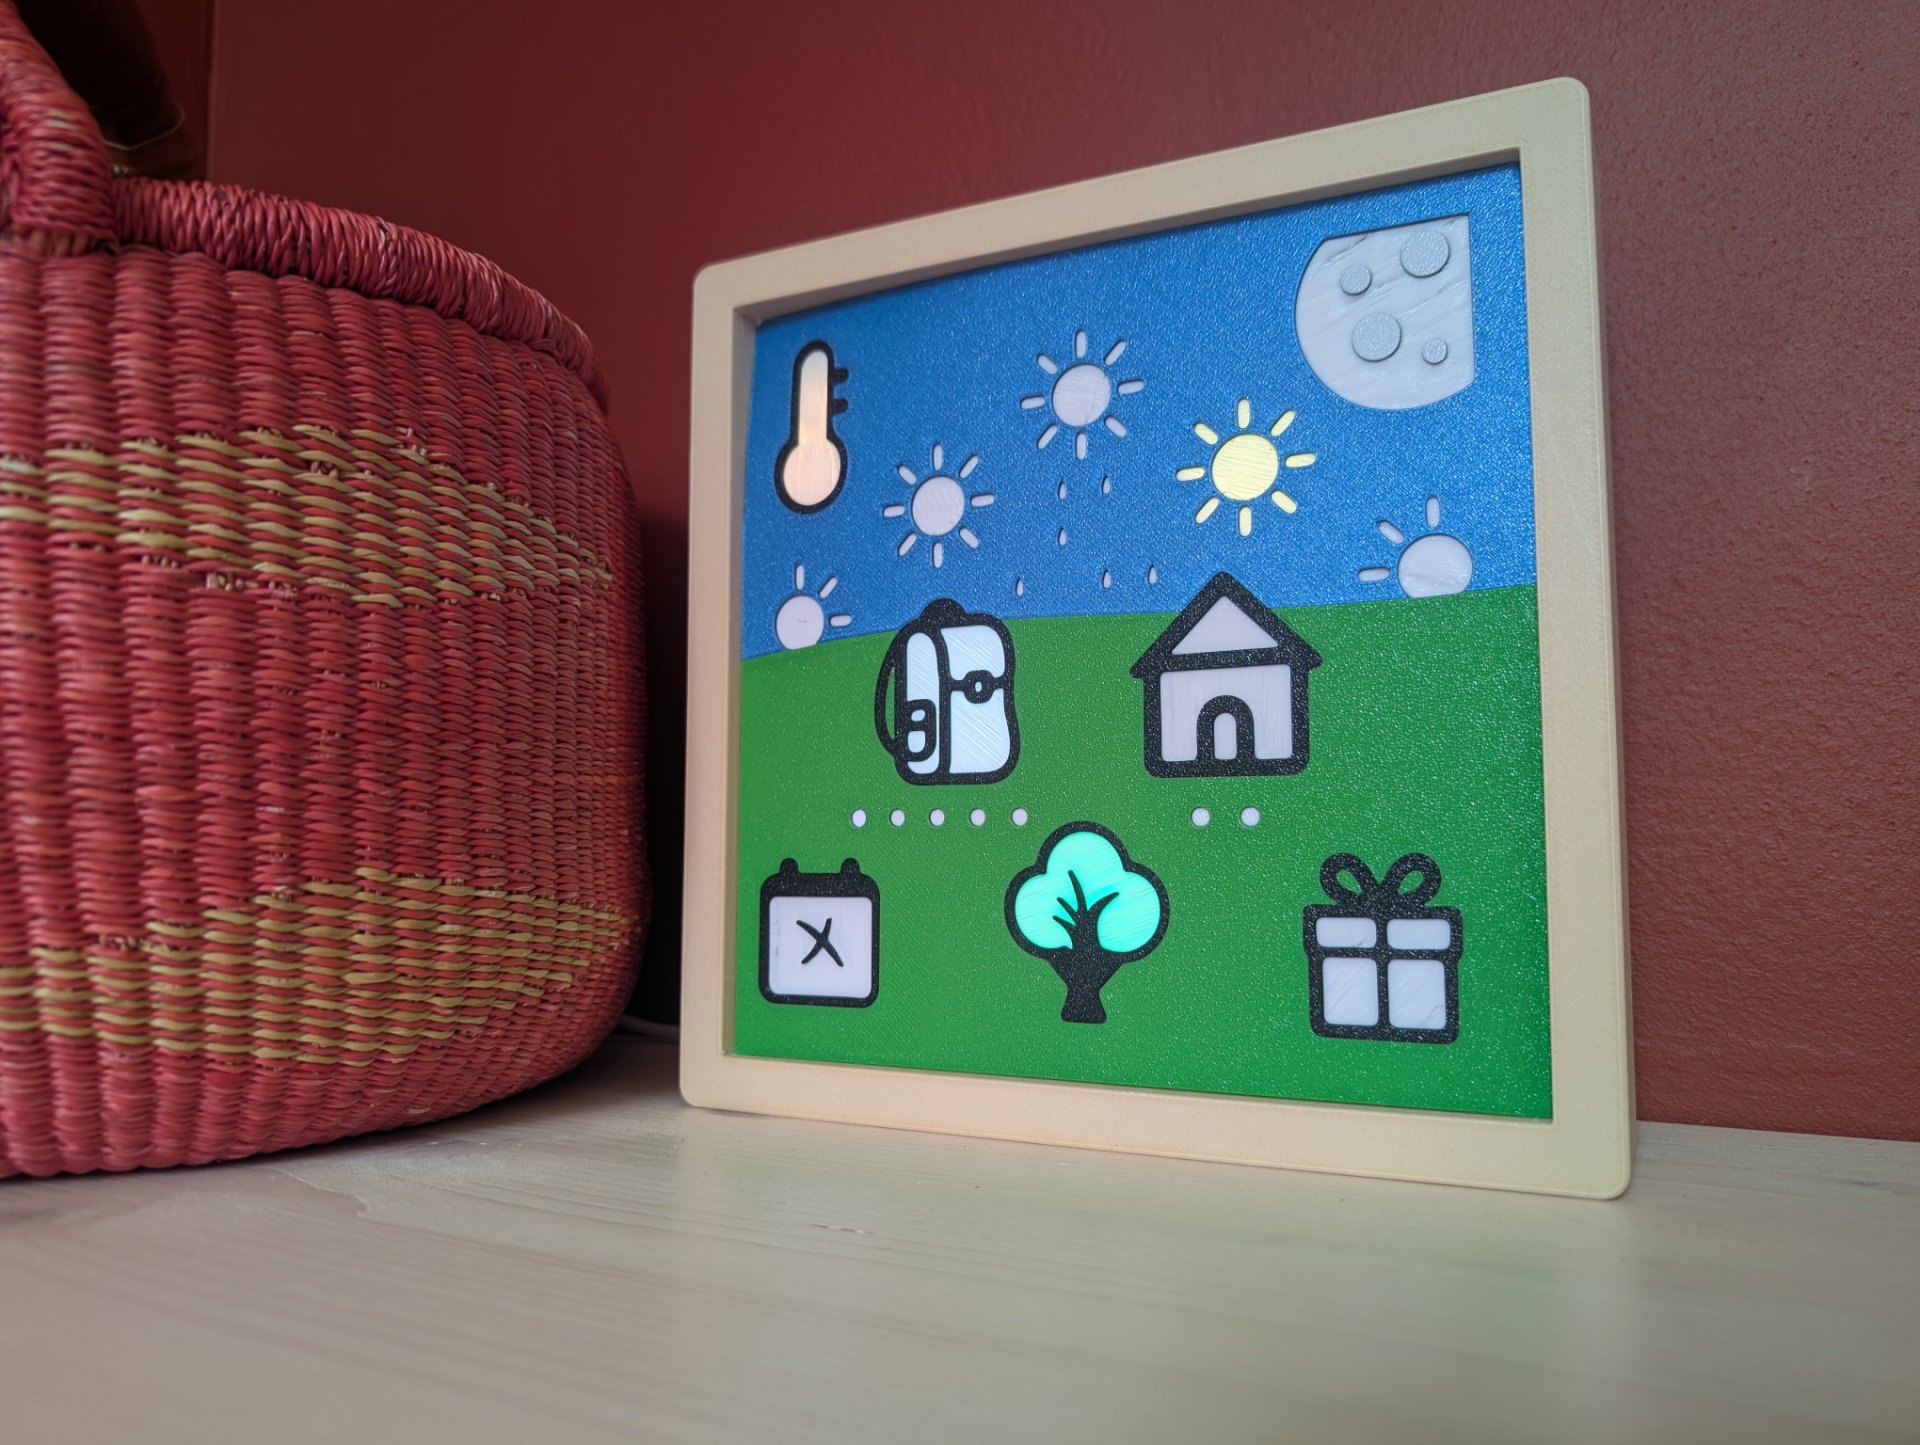
All in all it was super easy to get this done (except the multicolored front)! Order some Wemos D1 Mini ESP32 and the 16x16 LED matrix (I had most of the other stuff laying around) and get to printing and soldering. Wiring wise I found a shortcut, namely to solder the GND, IO and VCC all to the Wemos. This way you do not have to split the main VCC line.
I had some unused Woodfill filament which turned out to make a wonderful filament for the frame, and the smell! However, the model is designed to to have the front sit "above" the frame, which in my opinion is rather ugly.
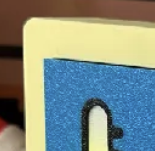 Luckily, you can cut of the top and left of the front flush which makes it a press fit, dab of hot glue and you are golden.
PrusaSlicer
Even though I think I know quite a bit about my 3D printer (currently a Prusa Core One+), it was really not straight forward doing multi color prints with a single extruder.
- In your printers settings set extruders to how many colors you want to use.
- Do NOT turn on single extruder multi material, this is when using an automatic MMU!
- Each extruder now shows up in your printers settings page where you can change the preview color, do this!
Bug in bridges when extruders are >= 4
But the biggest problem seems to be a bug in PrusaSlicer. Namely, that when I went to four extruders, the first layer with all bridges had weird circles instead of bridges! I could not resolve this no matter how many recoloring I did. In the end I had to merge the model, export the STL, repaint it by hand to get it to work.
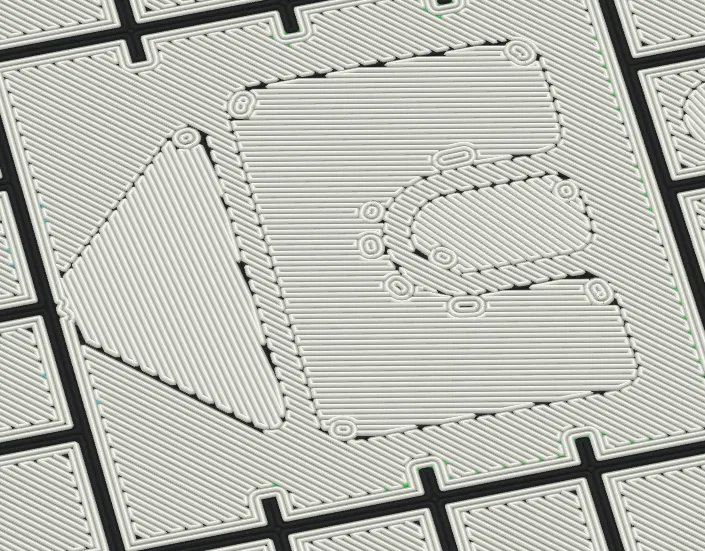
I did not yet submit to to PrusaSlicer as a bug, I should probably do so... Let me know if you did submit it already or also faces this problem.
Unwanted painting behavior in the presence of a cavity
Often bridged areas (all the symbols) are quite ugly. I remember seeing a calibration print on printables which I of course could not find. I did find however Imoto's 3D-print-perfect-bridge technique which is super cool but requires modifying the model. Luckily, I did find the real 3D Printing Bridge Calibration Test (Basic & Advanced). With this I settled on 20mm/s bridging speed and 1.95 bridging flow for my Prusa Core One+.
When printing the actual front model, this turned out to be horrible and it got quite ugly. Hence I though, why not just cut a big square cavity in the model and use the 'Imoto's 3D-print-perfect-bridge technique'? Sadly, the multi material painting was quite horrible on this and no matter what I did it tried to conically fade from one color to the other in the z-axis. So I gave up for this model.
Wishlist
Which brings me to my current list of improvements that I might one day do (or somebody else ;)).
- Open source firmware (current firmware is closed source)
- Supporting ESP32 XIAO boards
- Avoids the additional USB-C connector
- Allows for emergency flashing without disassembly
- Allows for broader USB-C charger compatibility as pins are not left floating
- Model improvements
- Avoid peeling by rounding corners and some internal stress relief (Slant3D tips and tricks) for the front
- Use moto's 3D-print-perfect-bridge technique to have all the symbols bridges be perfect
- Ensure the model STL or STEP file is constructed in such a way the PrusaSlicer has an easier time with the multi extruder setup
- Change the printable frame so it is more of a shadow box (recessed frame) as this is really way prettier
- Make an additional printable helper so you can easily cut wood to the correct size
- Better routing of the USB cable so it can be mounted flush without standoffs and also have USB cables fit nicer in general
- Improved fasteners by eather heat-inserts or improved plastic screw threads (see https://toms3d.org/2025/01/14/a-better-way-to-add-threads-to-your-3d-prints/)
- Firmware features
- Decrease the brightness as 1% is still pretty bright at night (or fake it using gray colors)
- Change hostname/device name so when your hostnames resolve locally you can just go to "https://device-name/"
- Bluetooth settings like https://remotexy.com/
- General features
- I don't like the calender and gift box feature. I rather see some countdown calendar/advent calendar so kids easily see how many days are left until X.
- Vacation mode that is easier to visually understand. Maybe an additional icon nex tto the backpack.
- Easier to understand temperature, do you need to wear long pants, or not???
- A diffent way to show to the kid that it is still sleeping time without having a light on when your kids sleep without lights.